
Trial of Devourer Guide
On this page you can find all essential information about the raid.
Raid Preparation
Consumables
Beast Ward Potions: Reduces damage from Beast enemies by 10% for 40 minutes.
Beast Coatings: Boosts your damage against Beast enemies by 15%. You can craft those or buy at Trade Post
Honing Stones: Increases your weapon damage by up to 7%, depending on the tier. Don't cheap out, use the highest tear one! Rewards are worth :)
Health and Regeneration Potions: Stock up on Infused Health Potions and Regeneration Serums to stay alive during long fights.
Gemstone Dust and Oakflesh Balm: Provides additional defense against acid and physical attacks. Use Oakflesh to mitigate some damage from mines explosion
Powerful Incense - Increases resistance to all Afflictions by 50 for 30 minutes. You less likely to get acid burn with it
Attribute Food: Boost your primary stats with top-tier food. For example, STR players should bring Gnufish, while INT users can benefit from Steamed Abaia Serpe
Stalwart Heartrune of Fire Storm - extremly important part of the raid gear. Make sure multiple players run it to cleance others from acid burn
Acid Tincture - to cleaanse acid burn
Trophies
Trophies can provide a critical damage boost:
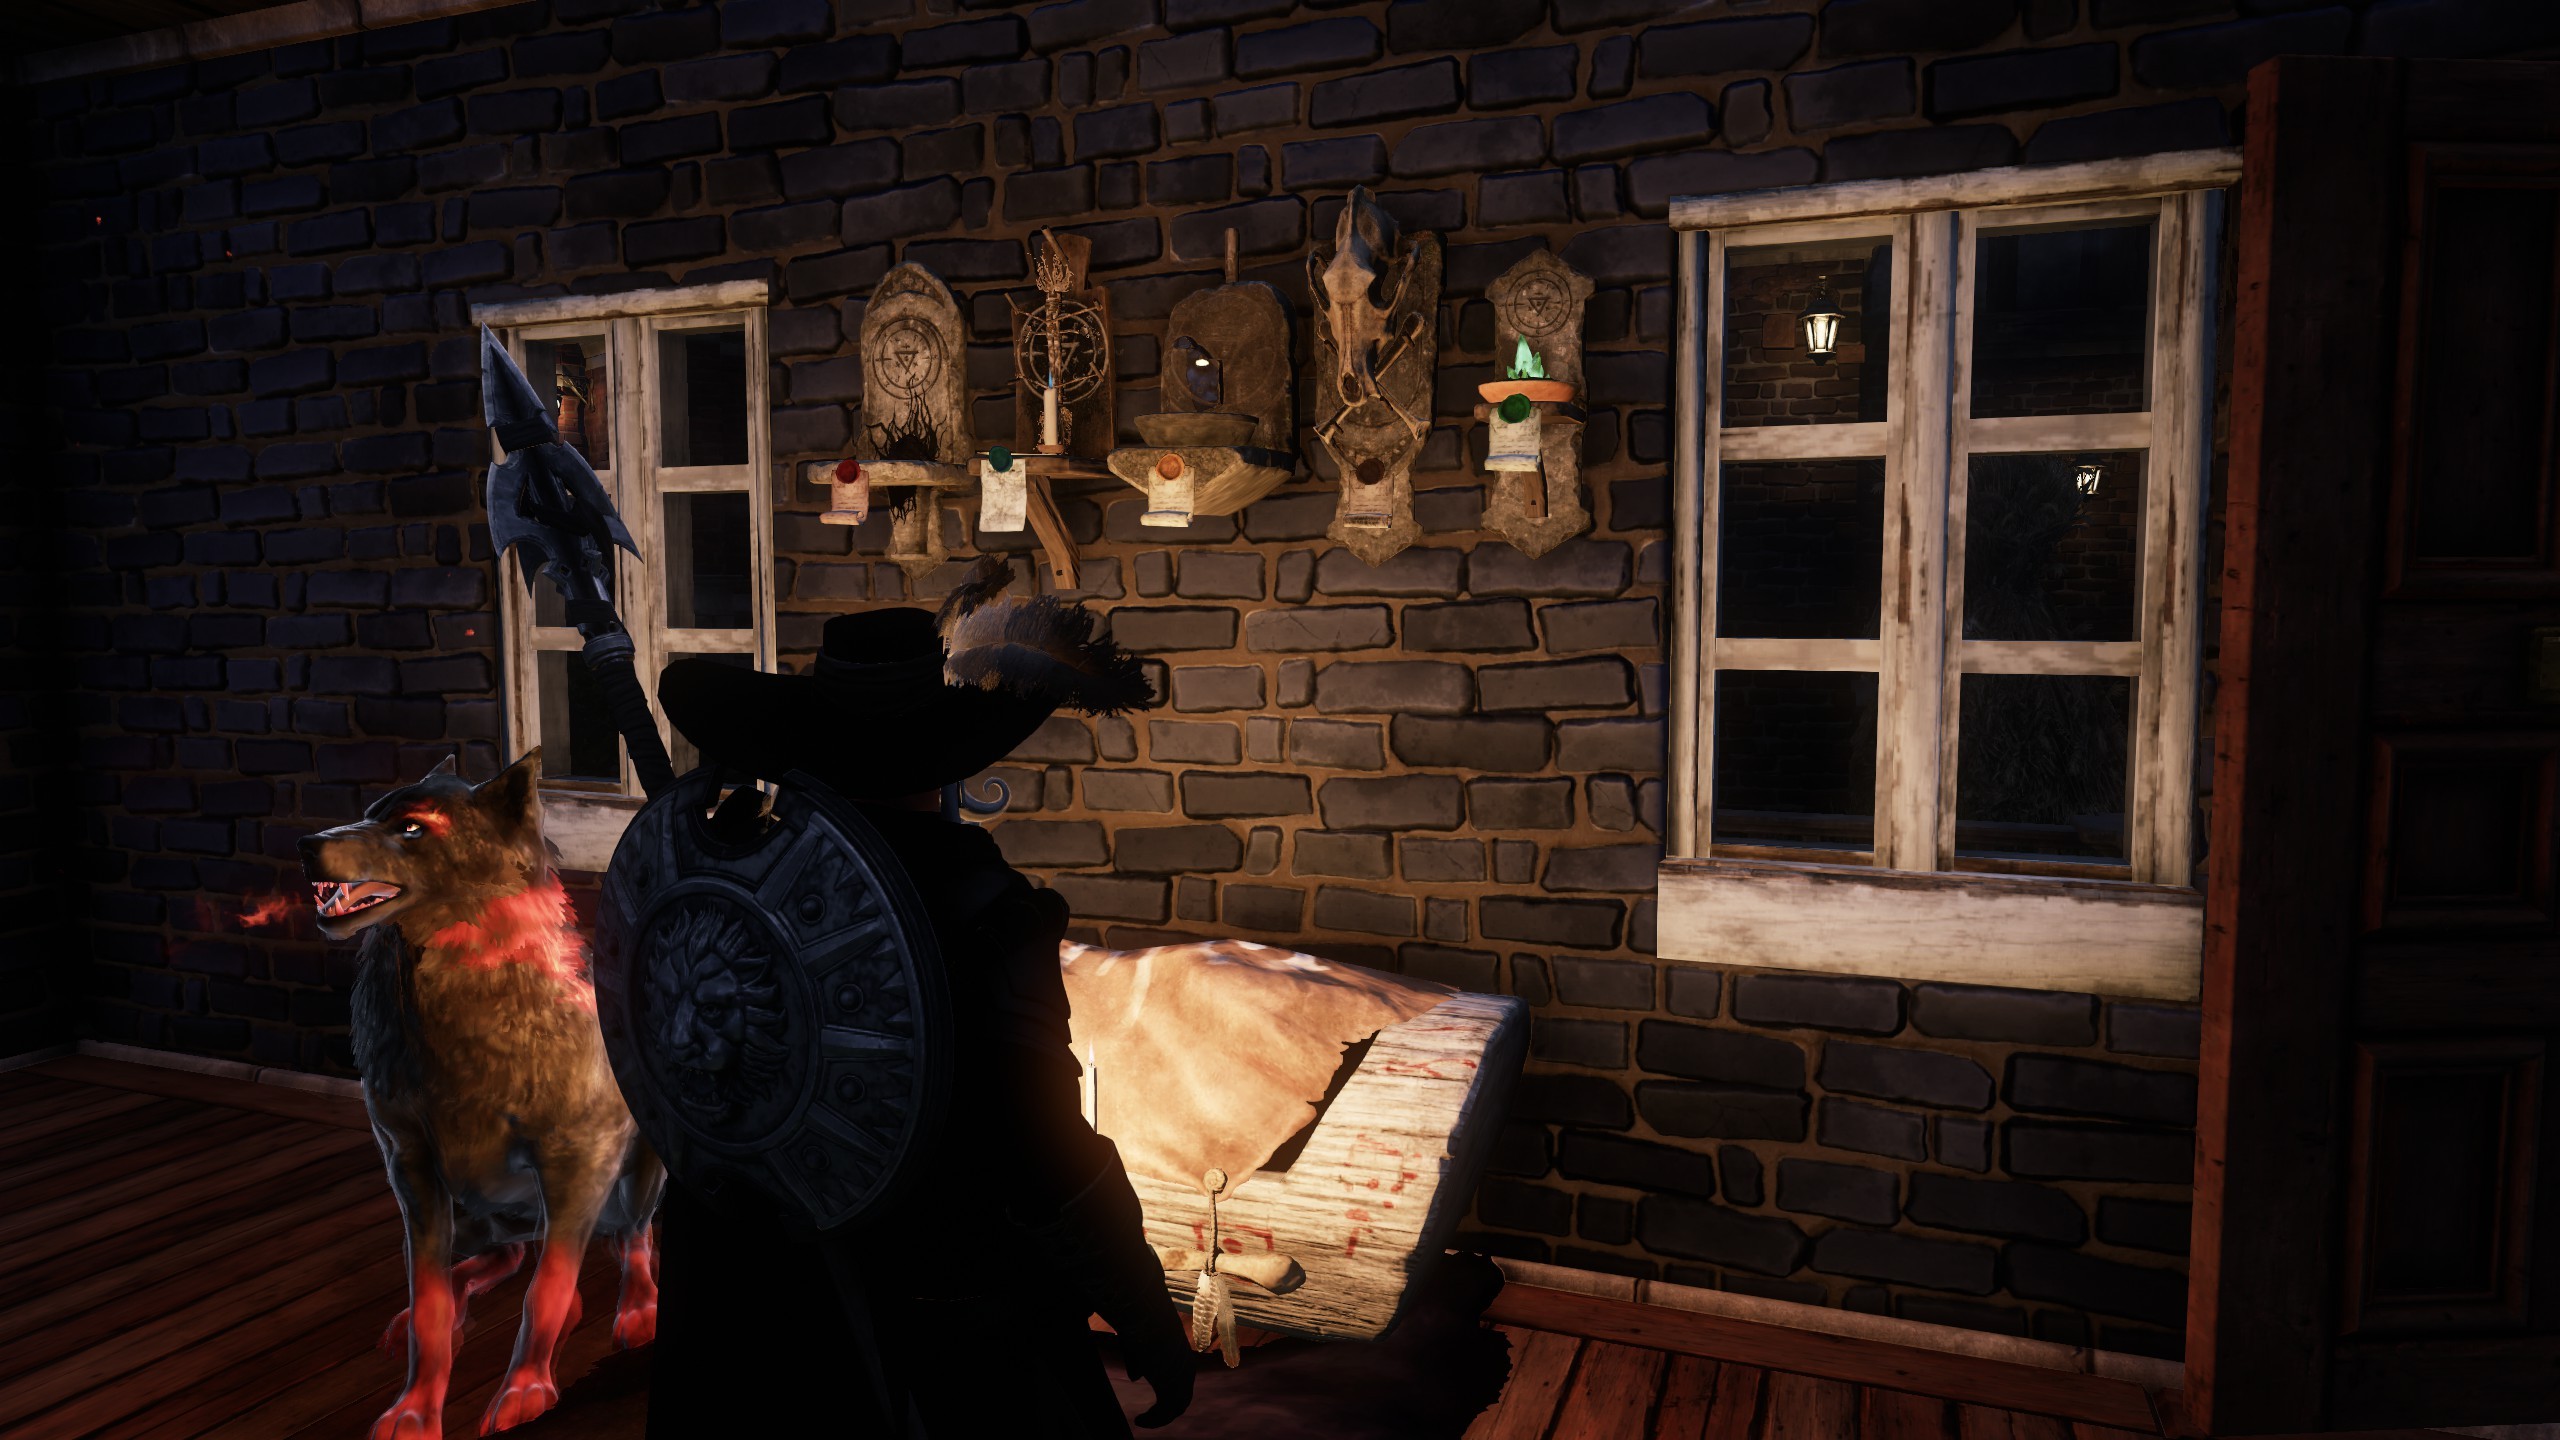
Wildlife Combat Trophies: Equip these in your houses to gain up to 15% extra damage against Angry Earth enemies. Even lowest tier trophies are effective if you’re on a budget.
Arena Enter
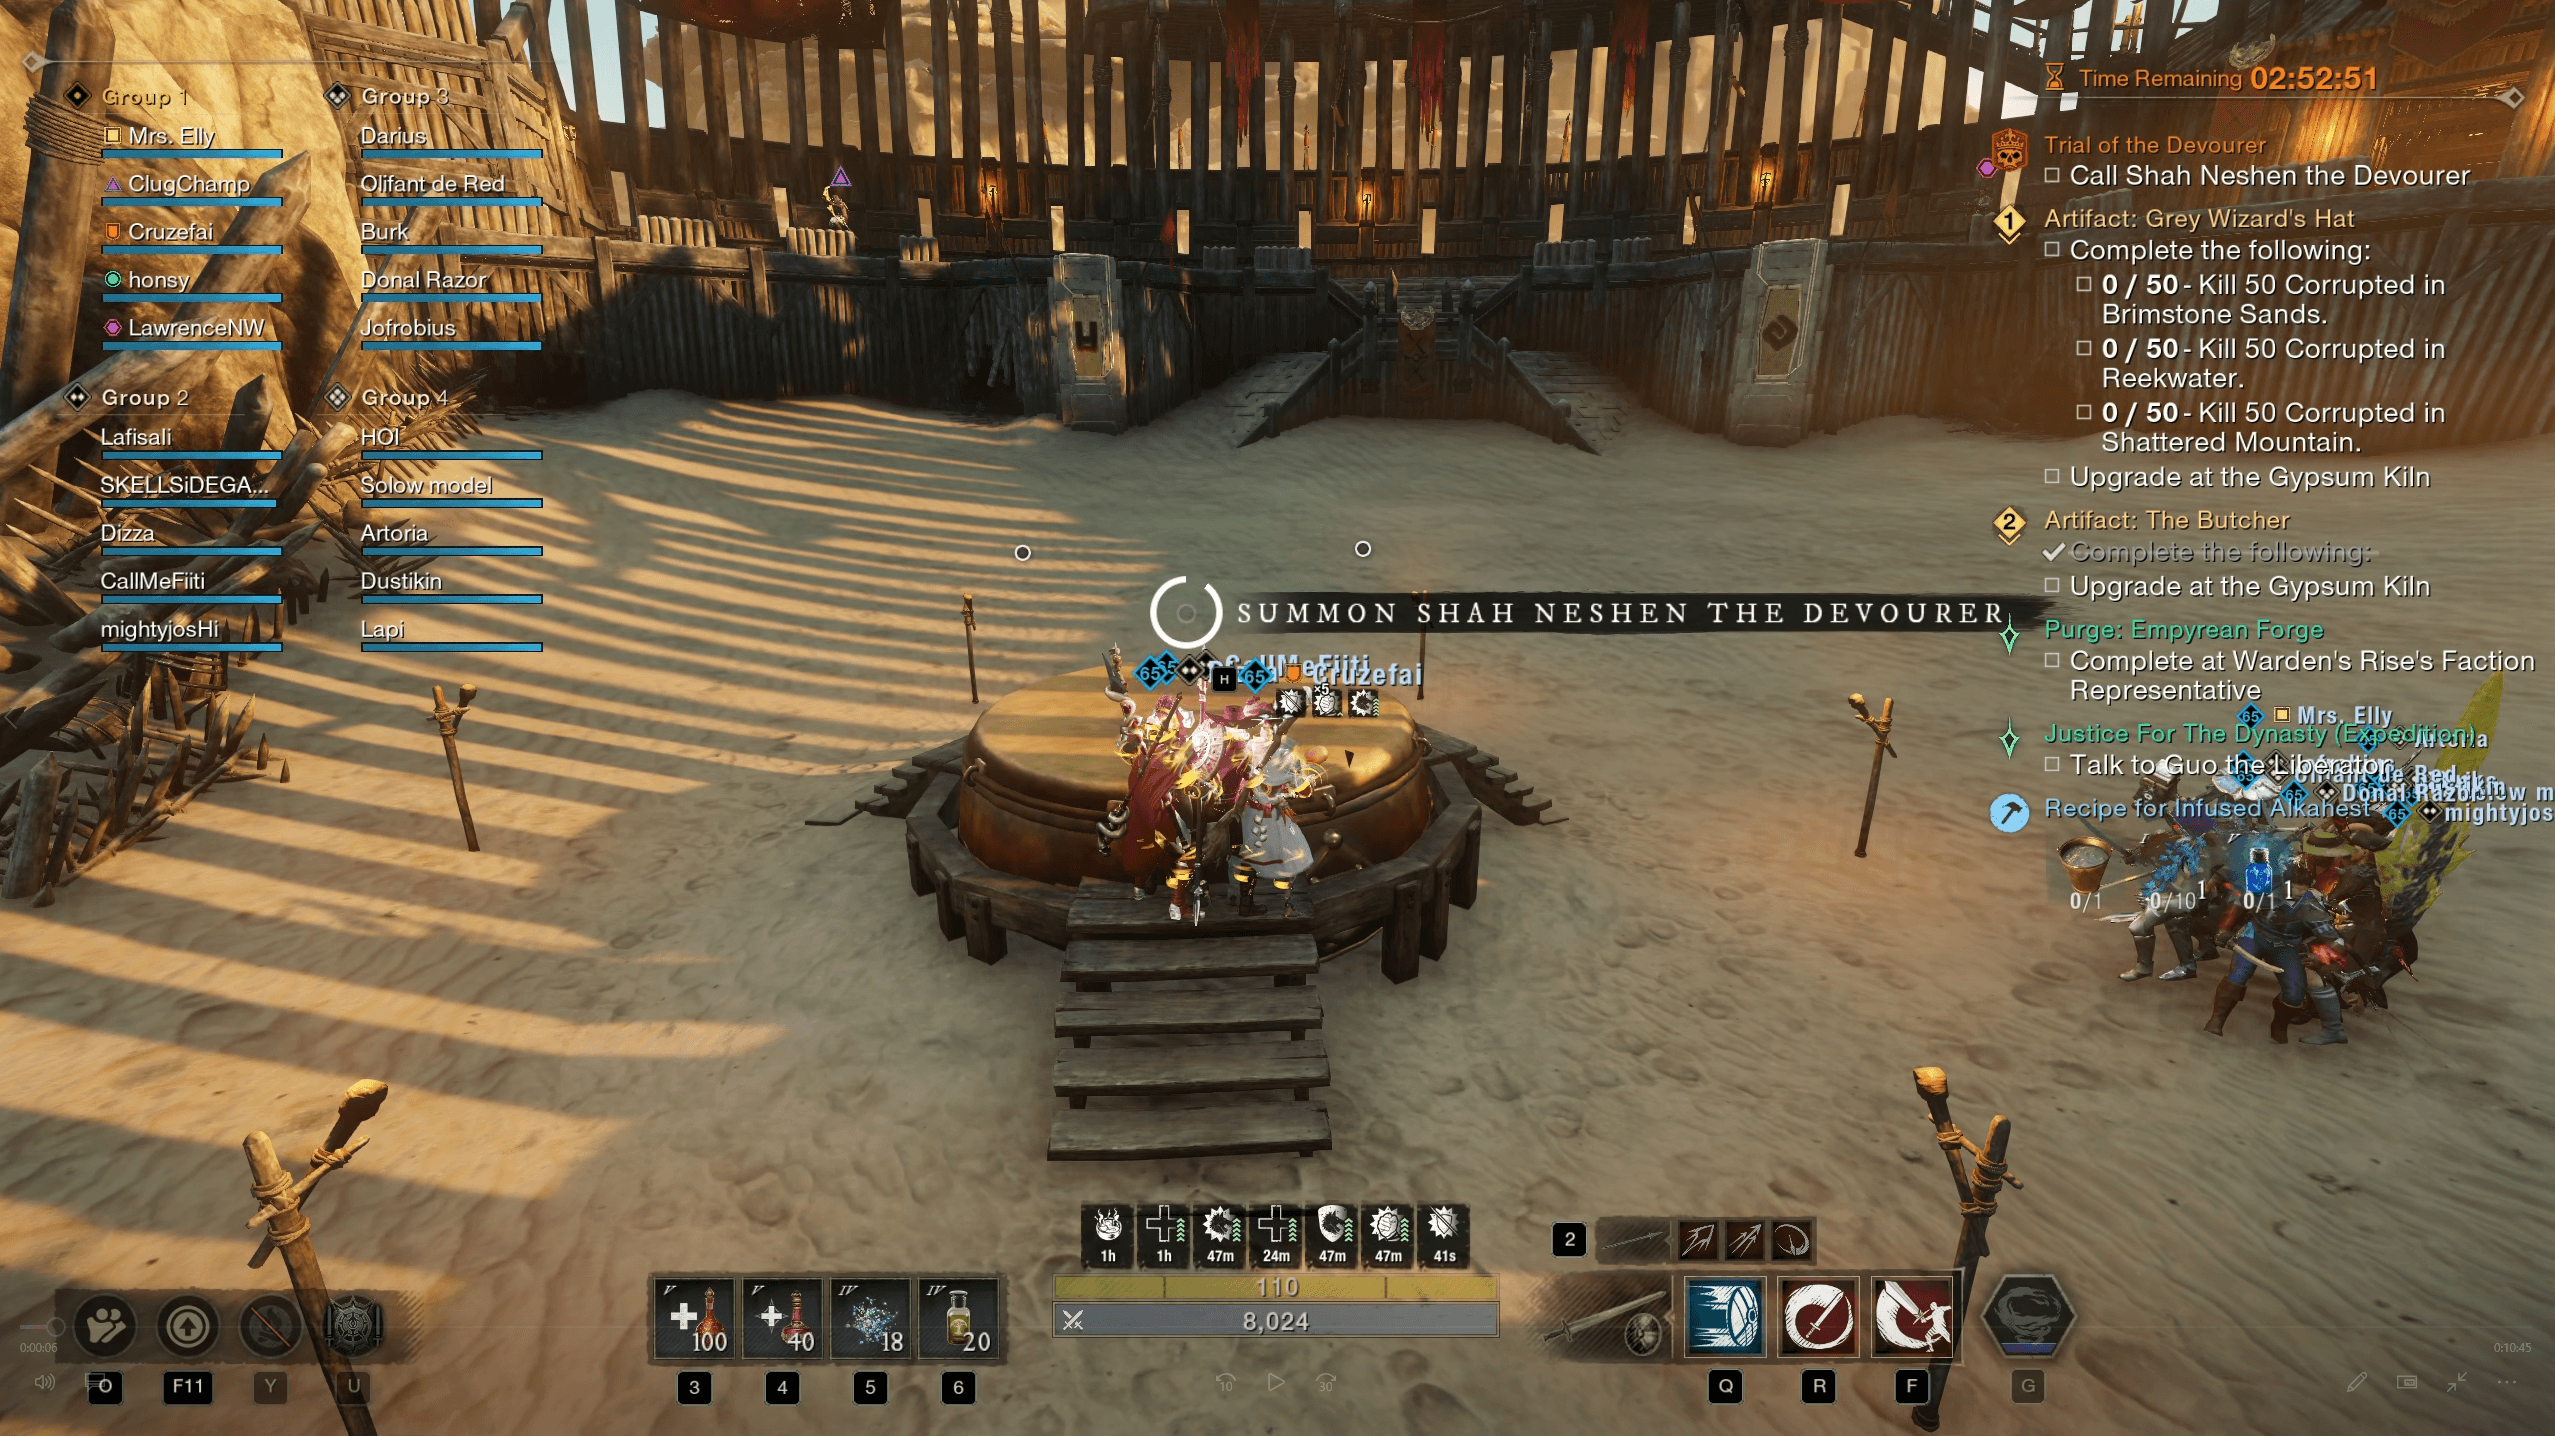
The Trial of the Devourer begins when you enter the Arena located in Brimstone Sands. You can also access this activity via the in-game Activity Menu.
Before heading into the Arena, make sure to apply the buffs and consumables you prepared earlier. These should only be used once you're downstairs and ready to engage the encounter.
In the Trial of Devour raid, there’s often an emphasis on Gearscore when forming groups. While it’s true that higher Gearscore can lead to more damage potential, it’s important to remember that Gearscore alone doesn’t guarantee high performance.
The raid is a place to farm high-Gearscore items, so it’s totally acceptable to join with a 690+ Gearscore if you focus on having the right defensive setups and communication with your team. A well-rounded character with effective survivability perks and proper Amulets with Protection will be more valuable than someone with a high Gearscore but poorly optimized build

Team Composition
G-2
Damage Dealer
Support
Tank
Damage Dealer
Damage Dealer
Musketeer L4

1st Step
Encounter Overview
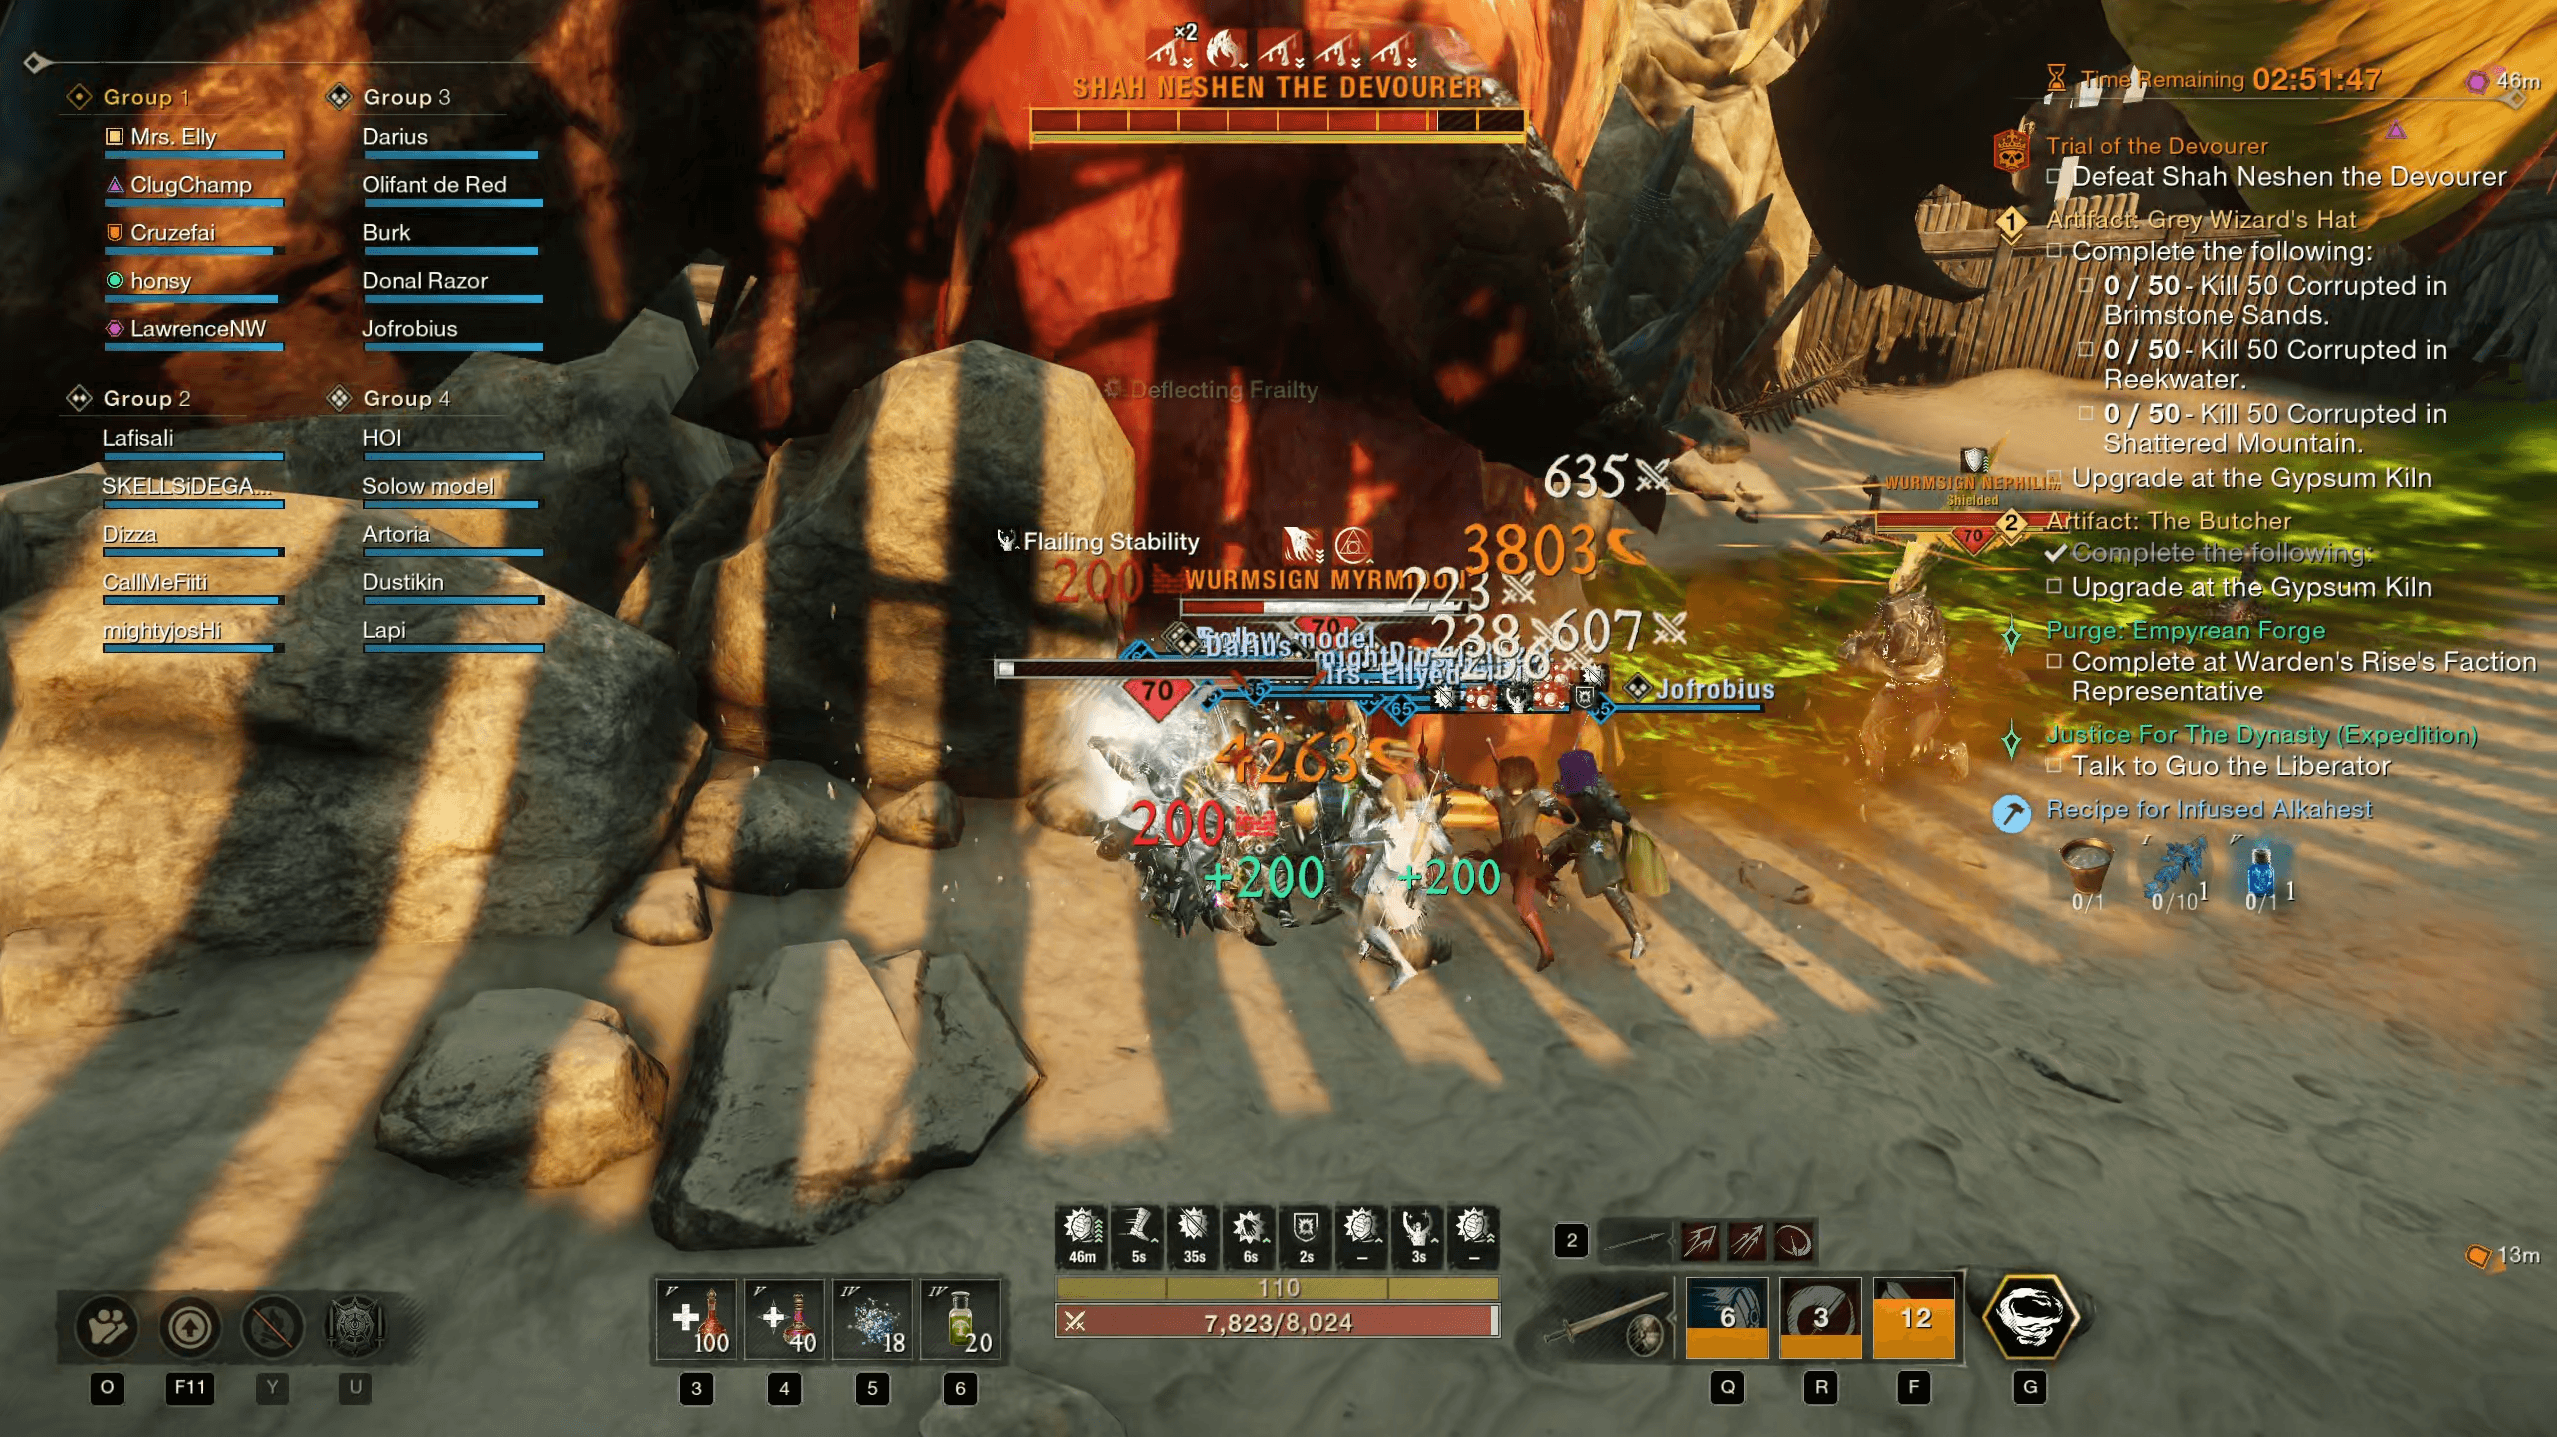
Upon entering the Arena, you'll face a group of scorpions and one notable enemy—a soldier with a glowing spherical shield and big sword. Players across different communities often refer to this mob by various nicknames like "Big Boy," "Goldey," or "Golden Boy." For clarity, we’ll refer to him as the Wurmsign Nephelim.
Group up and kill everything you can ^^

The Nephilm's Shield Mechanic
If you try to attack the Nephilim directly, you’ll notice that he takes no damage. His shield is highly resistant and will take an excessive amount of time to break through without proper mechanics. To efficiently break the shield, you’ll need to activate a shield damage buff by coordinating with your team.

Light Mechanic
Light Pads Activation
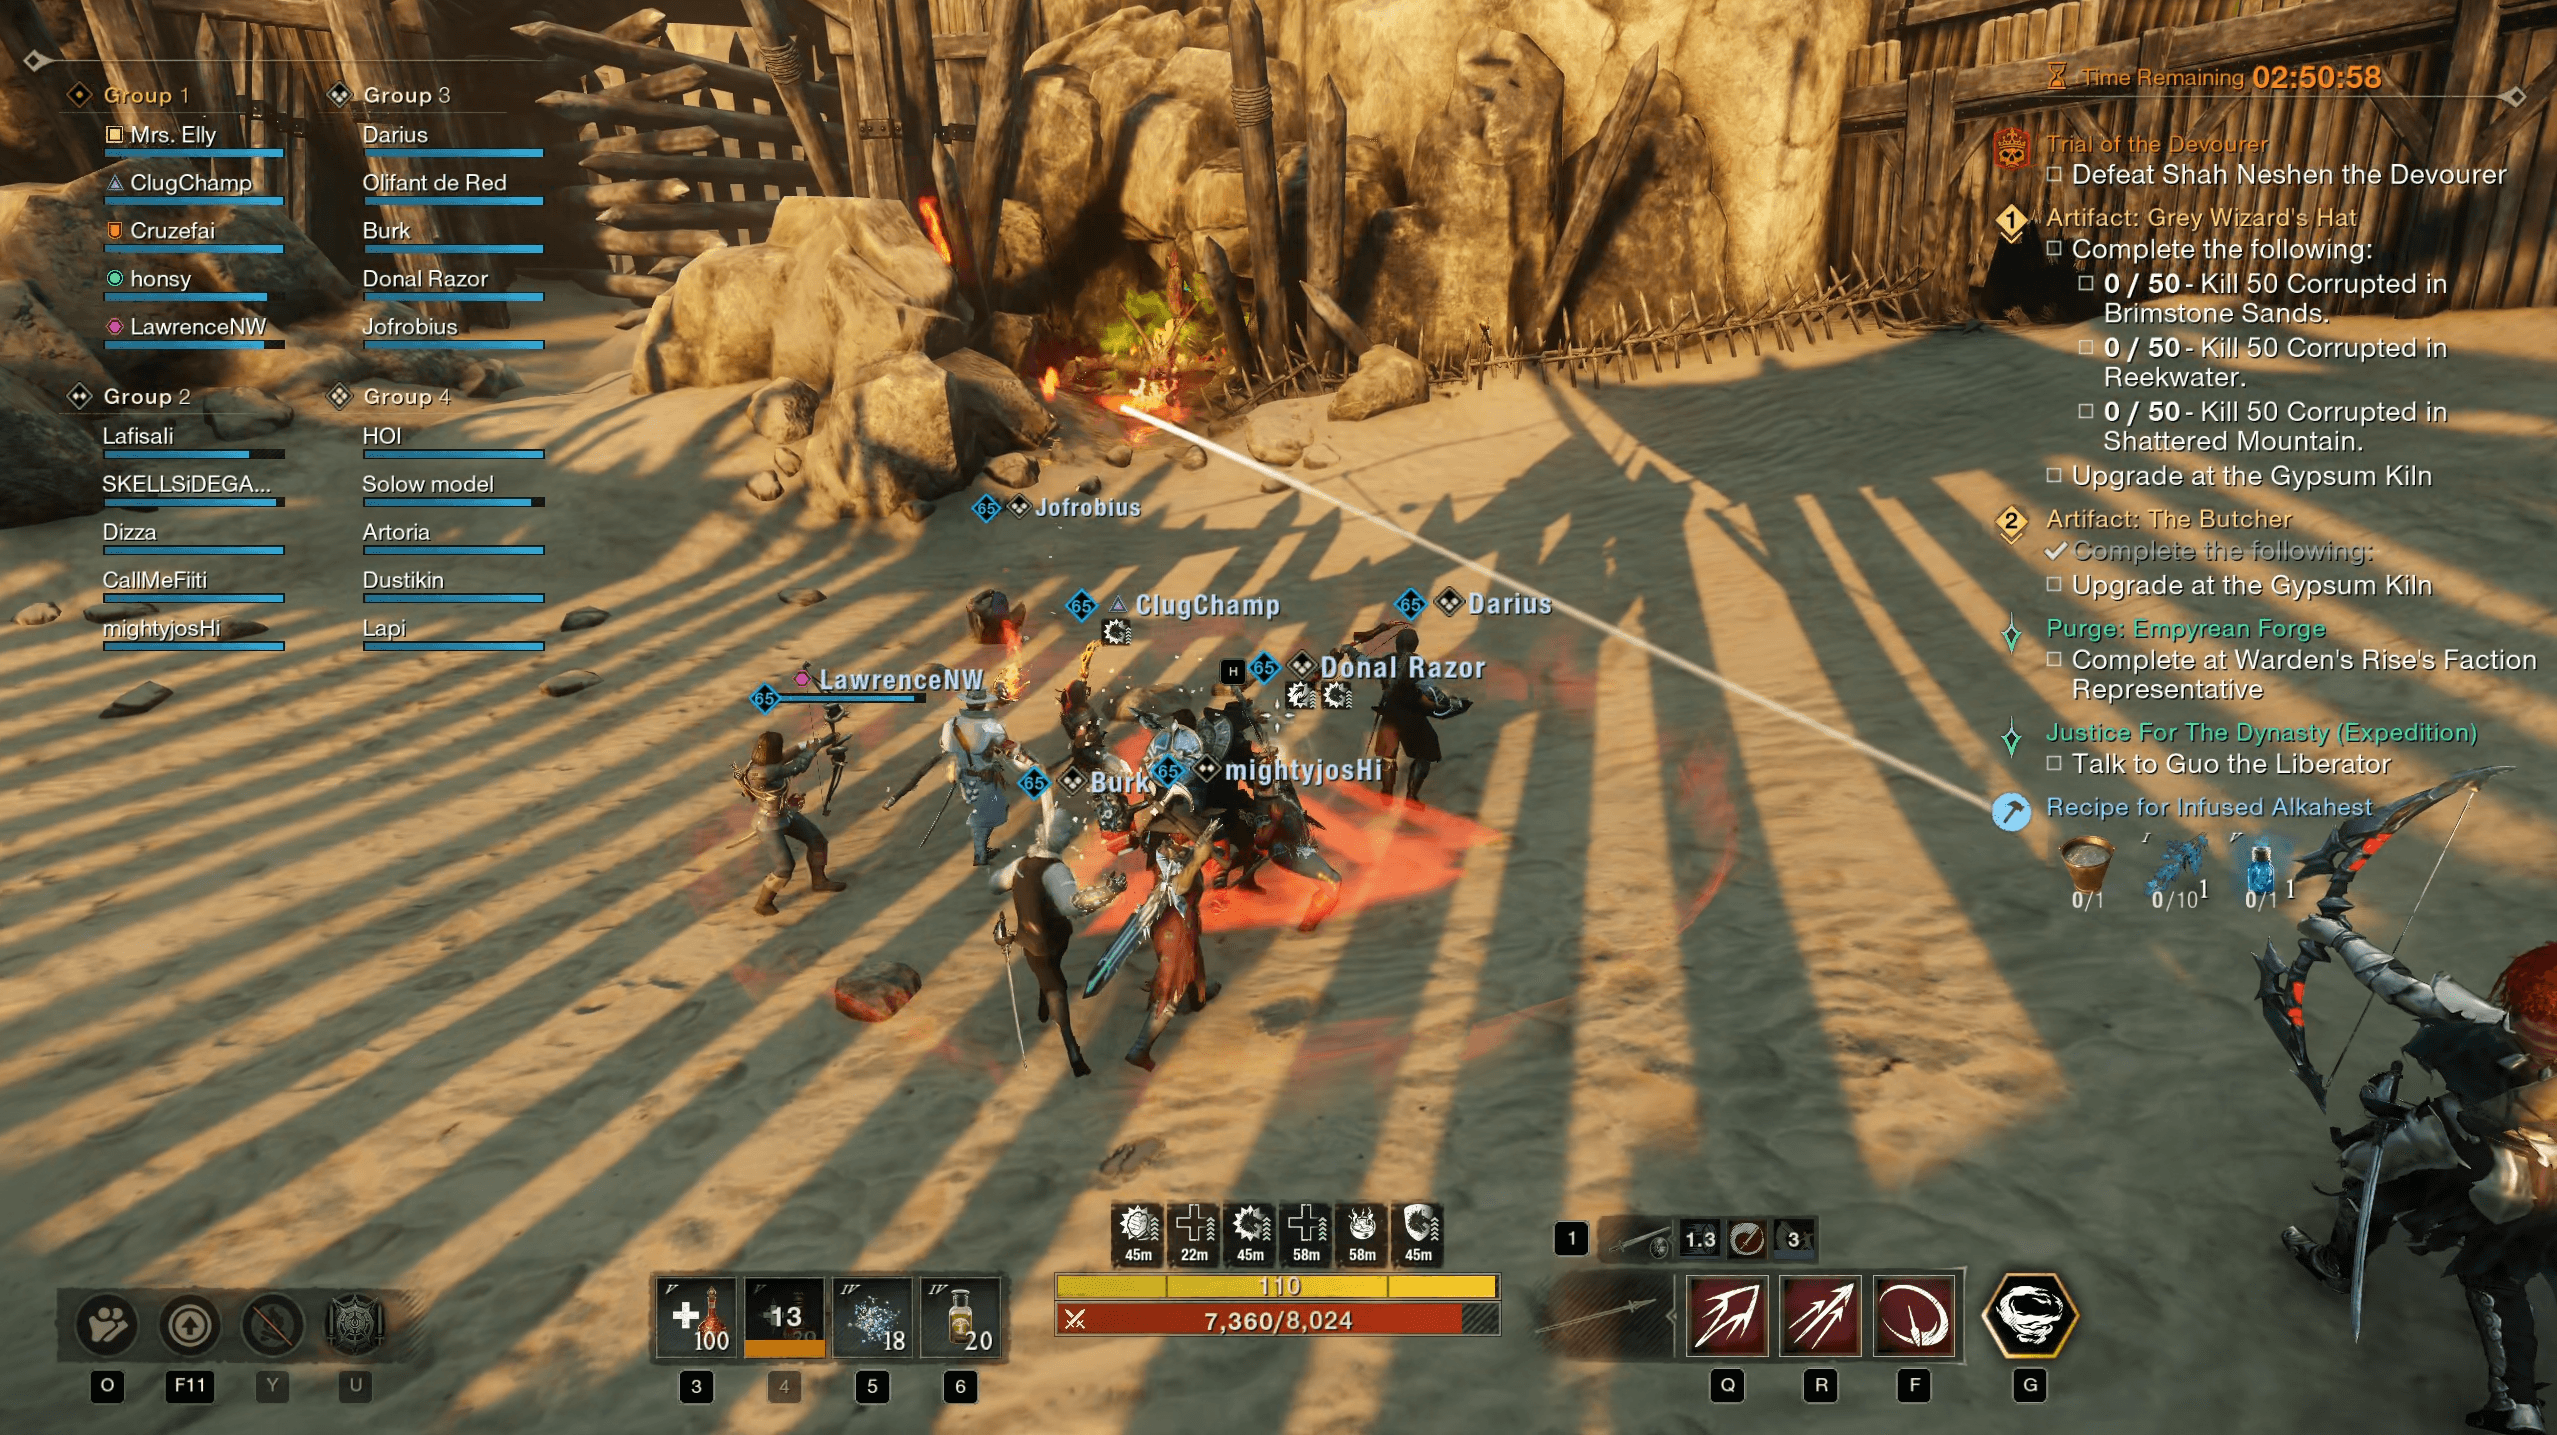
Four players designated as “Light Players” must step on the light pads located around the stage.
When a player steps on a pad, a glowing symbol will appear under their feet, which can be either red or blue.
Important: Players stepping on the pads cannot see their own color unless they have made specific tweaks to their game settings.
Calling the Colors
A designated raid shotcaller should observe the glowing signs and call out the colors for each player.
The typical pattern is called from left to right, as viewed from the drum at the center of the stage.
Example callout: RED - RED - BLUE - RED.
Interacting with Pads
Each player on a light pad must interact with the button that matches the color called out for them.
Make sure everyone executes this step correctly.
Buff Activation
Once all players have activated the correct colors, the entire raid will receive a shield-breaking buff and light players can step of from the pads
This buff dramatically increases the damage dealt to the Nephilm's shield, allowing the team to break it quickly and proceed with the fight.
Tip: See Your Own Light Symbol
To make it easier to see your light symbol during the activation phase, adjust your game settings:
Go to Settings → Camera.
Find Tilt-Based Camera Zoom and turn it on.
What Does This Do?
Enabling this option widens your Field of View (FOV), allowing you to see the light symbol under your feet.
With this adjustment, you can activate the correct light without relying solely on the shotcaller’s instructions.

Drums
Activating the Drum
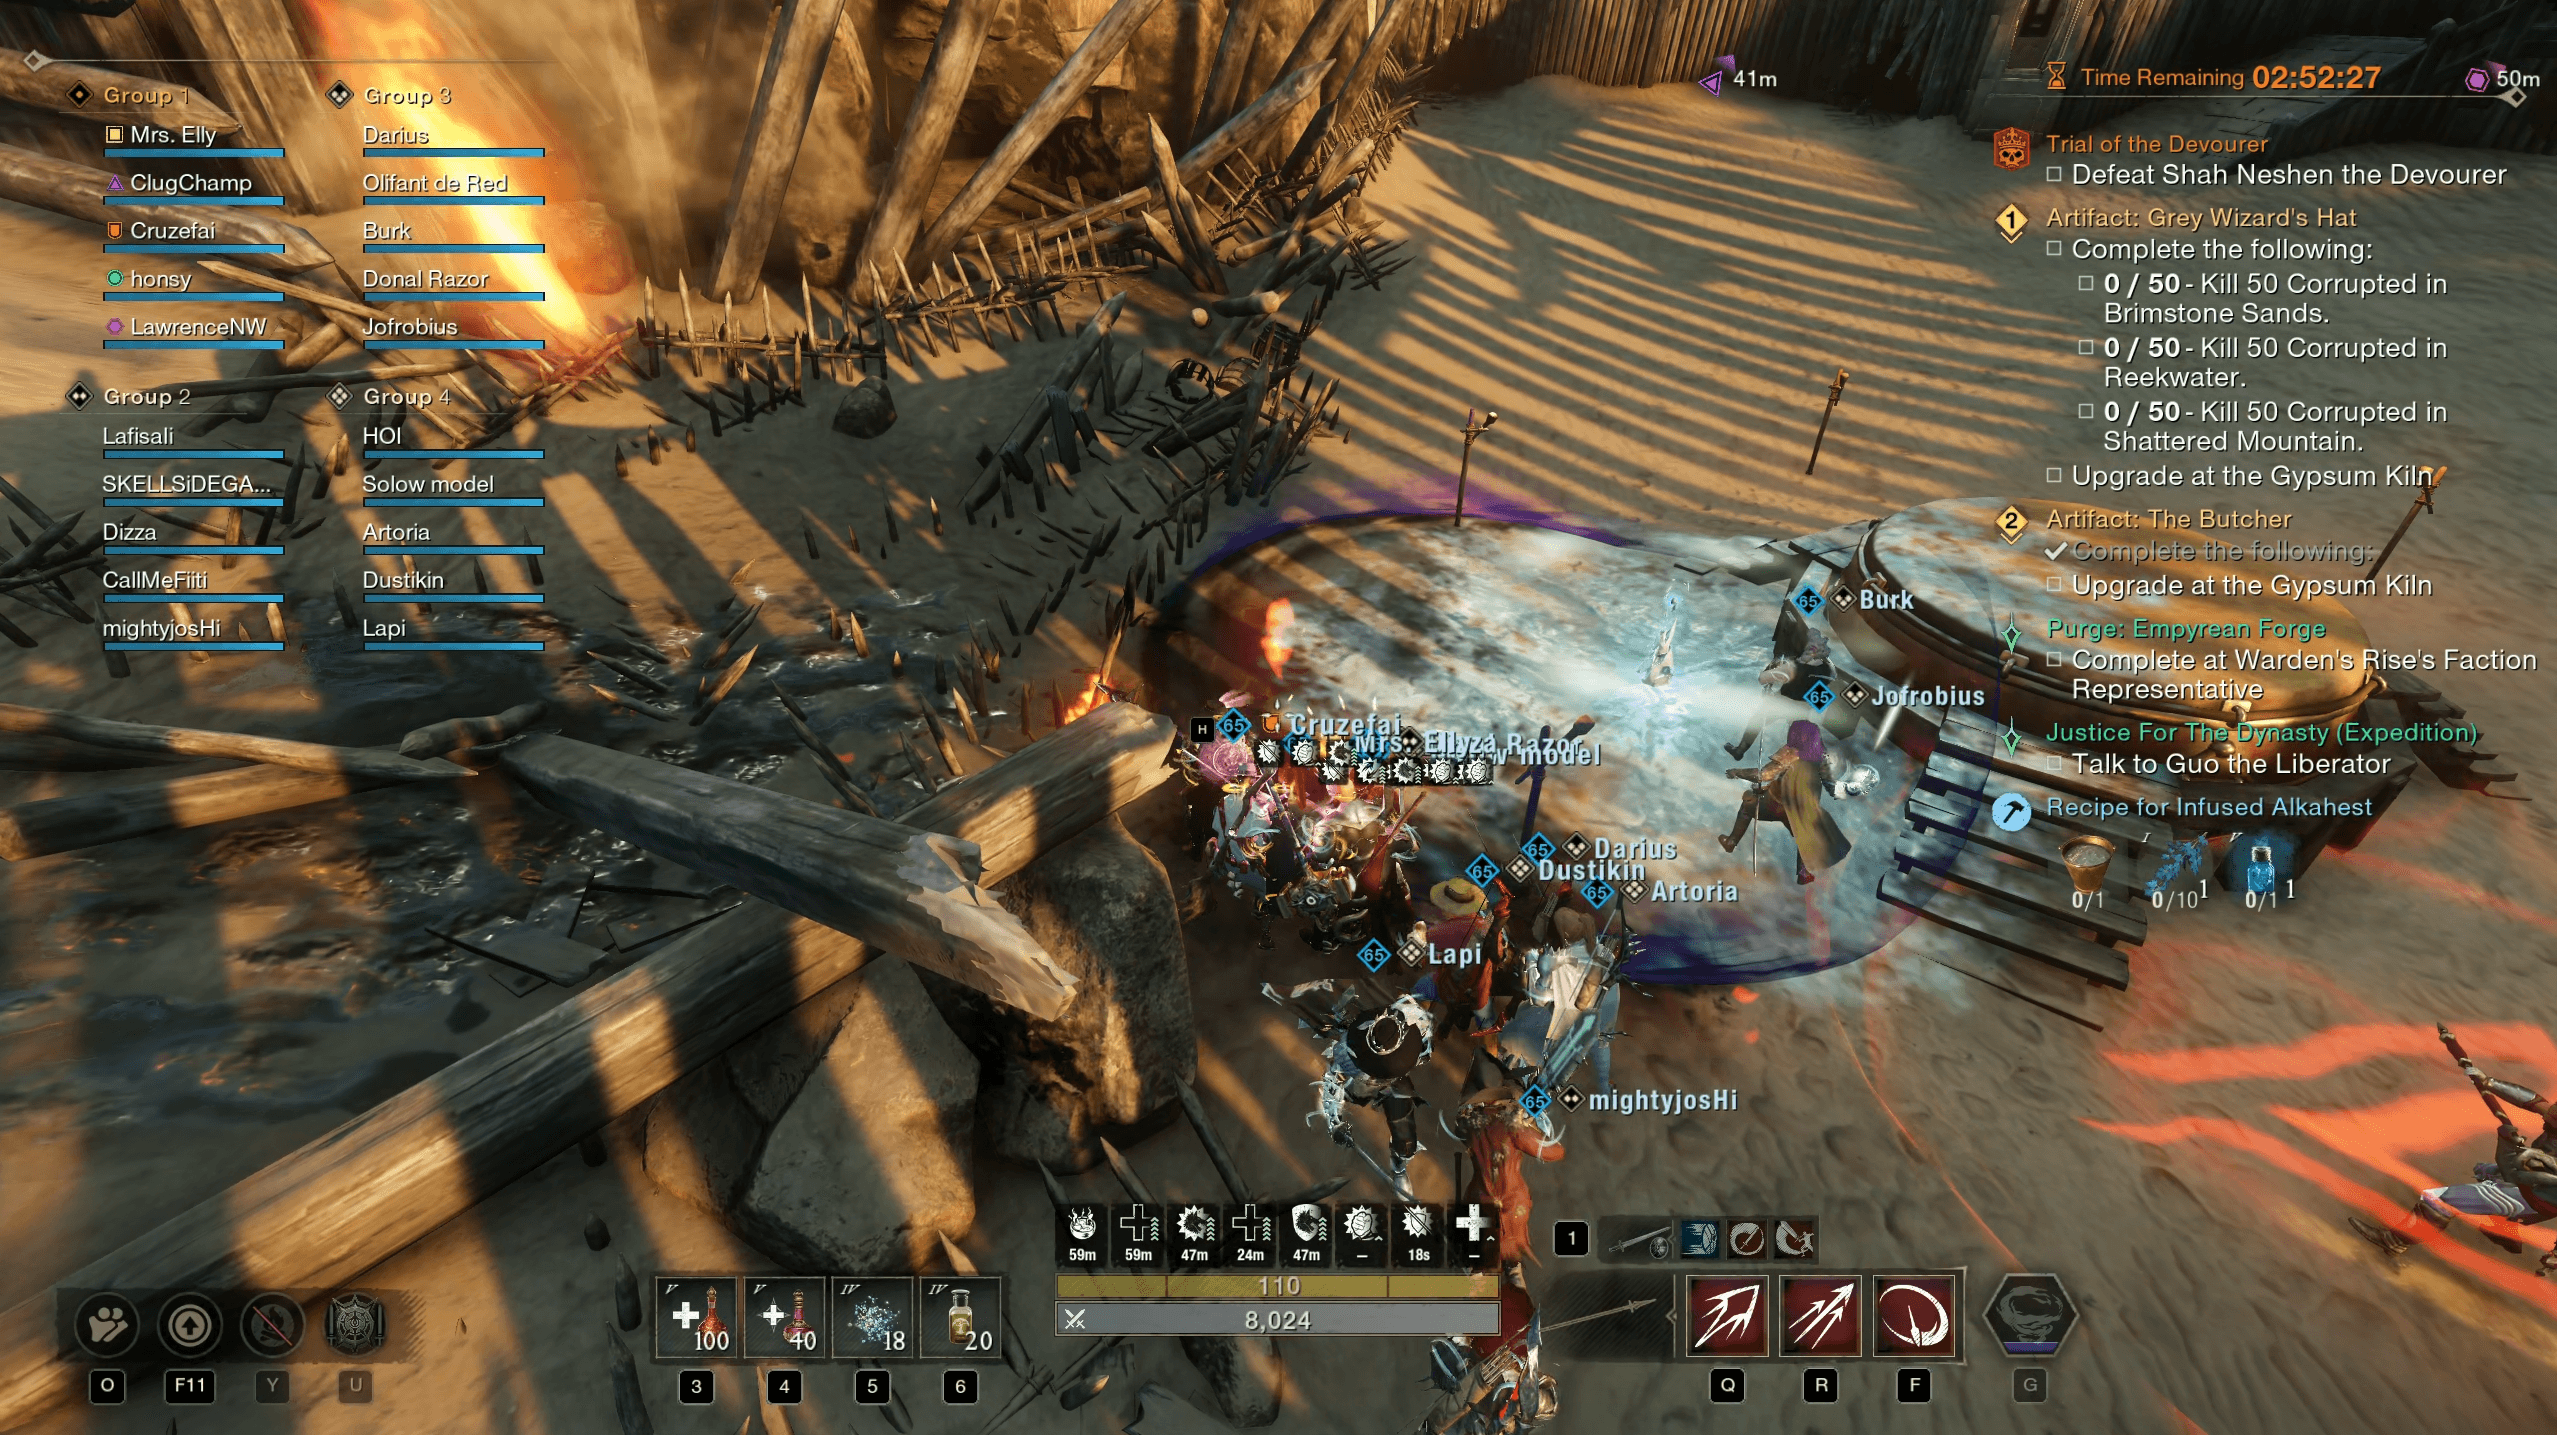
Once the Soldier is defeated, three players from the raid must immediately interact with the large drum in the center of the arena. This action officially begins the next phase of the encounter.
Picking Up the Sword
The rest of the team should approach the sword dropped by the Soldier.
Interact with the sword by pressing "E" once to pick it up.
If successful, you’ll see the Stormchaser Buff notification on your screen or as an icon in your status bar.
This buff provides Empower and the ability to apply Rend with your attacks.
Follow your shotcaller’s instructions regarding who should pick up the sword, as different groups may run different strategies.
Positioning for the Worm
After obtaining the Stormchaser Buff, move to the location where the Worm will spawn.

The Worm Arrives!
The Worm enters the arena from the far gates and will knock down all players in its path.
With practice, you can anticipate its arrival and dodge the knockdown

Acid Balls
The Worm begins this phase by spitting acid balls into the air.
If these balls land on the ground, they create acid pools that deal massive damage to anyone inside.
Ranged players stationed near the light pads are responsible for shooting down the acid balls before they hit the ground.
The Worm will spit poison three times in quick succession.
Important: Stay focused and listen to your shotcaller to ensure no acid balls are missed!
Damage direct hit: Magic; Ranged; Acid; 9,426
Damage on explosion: Magic; Ranged; Acid; 8,483

Acid Spew
The Worm targets a player based on threat and unleashes a continuous stream of acid after a brief delay.
Tank Strategy:
Pull the Worm attacks to a corner and watch for the spew animation.
Dodge to the side as soon as the spew begins.
This attack is often followed by a good moment to prepare for the light activation mechanic.
Damage direct hit: Magic; Ranged; Acid; 23,564

Body Slam
The Worm performs a heavy attack targeting all players in the middle range of the arena.
How to Avoid:
Players close to the Worm are safe from this attack and can remain in position.
If you’re in the middle range, prepare to dodge through the slam to avoid damage.
Damage: Heavy; Melee; Strike; 21,993

Bite Attack
The Worm performs two consecutive bite attacks:
One targeting its left side and the other targeting its right side.
The order may vary, so watch the Worm's face carefully.
How to Counter:
Use block to stop the bites.
Lower your camera angle for a better view of the Worm’s head movement.
Important: After the bite attacks, the Worm leaves an acid pool behind that burns players who remain close.
Burn Countermeasure:
Use Stalwart Firestorm to cleanse the burn effect, then resume attacking.
Always listen to your shotcaller for timing and positioning tips.
Damage: Heavy; Melee; Strike; 62,837

Acid Spits
The Worm targets ranged players near the light pads with acid spits.
These are primarily aimed at the tank and nearby players but can randomly hit others.
How to Avoid:
Dodge sideways and keep moving.
If you’re using a bow, trigger your Evasive Tactics passive by dodging to maximize your survival and damage output.
Always remain vigilant, as the Worm might shift targets unexpectedly.
Damage: Magic; Ranged; Acid; 8,483

Mob Spawns
During the fight, the Worm will summon adds to disrupt your team’s focus.
These include:
Scorpions, Nephilims, Mages
Dealing with Adds:
AoE Damage: Let players with strong AoE abilities handle the adds, ensuring the rest of the raid can focus on the Worm.
Melee Mobs: These will approach the group directly and die from AoE attacks
Ranged Mobs: Ranged players stationed near the light pads should prioritize taking out ranged adds.
Avoid getting distracted by adds and stick to your role

Scorpions
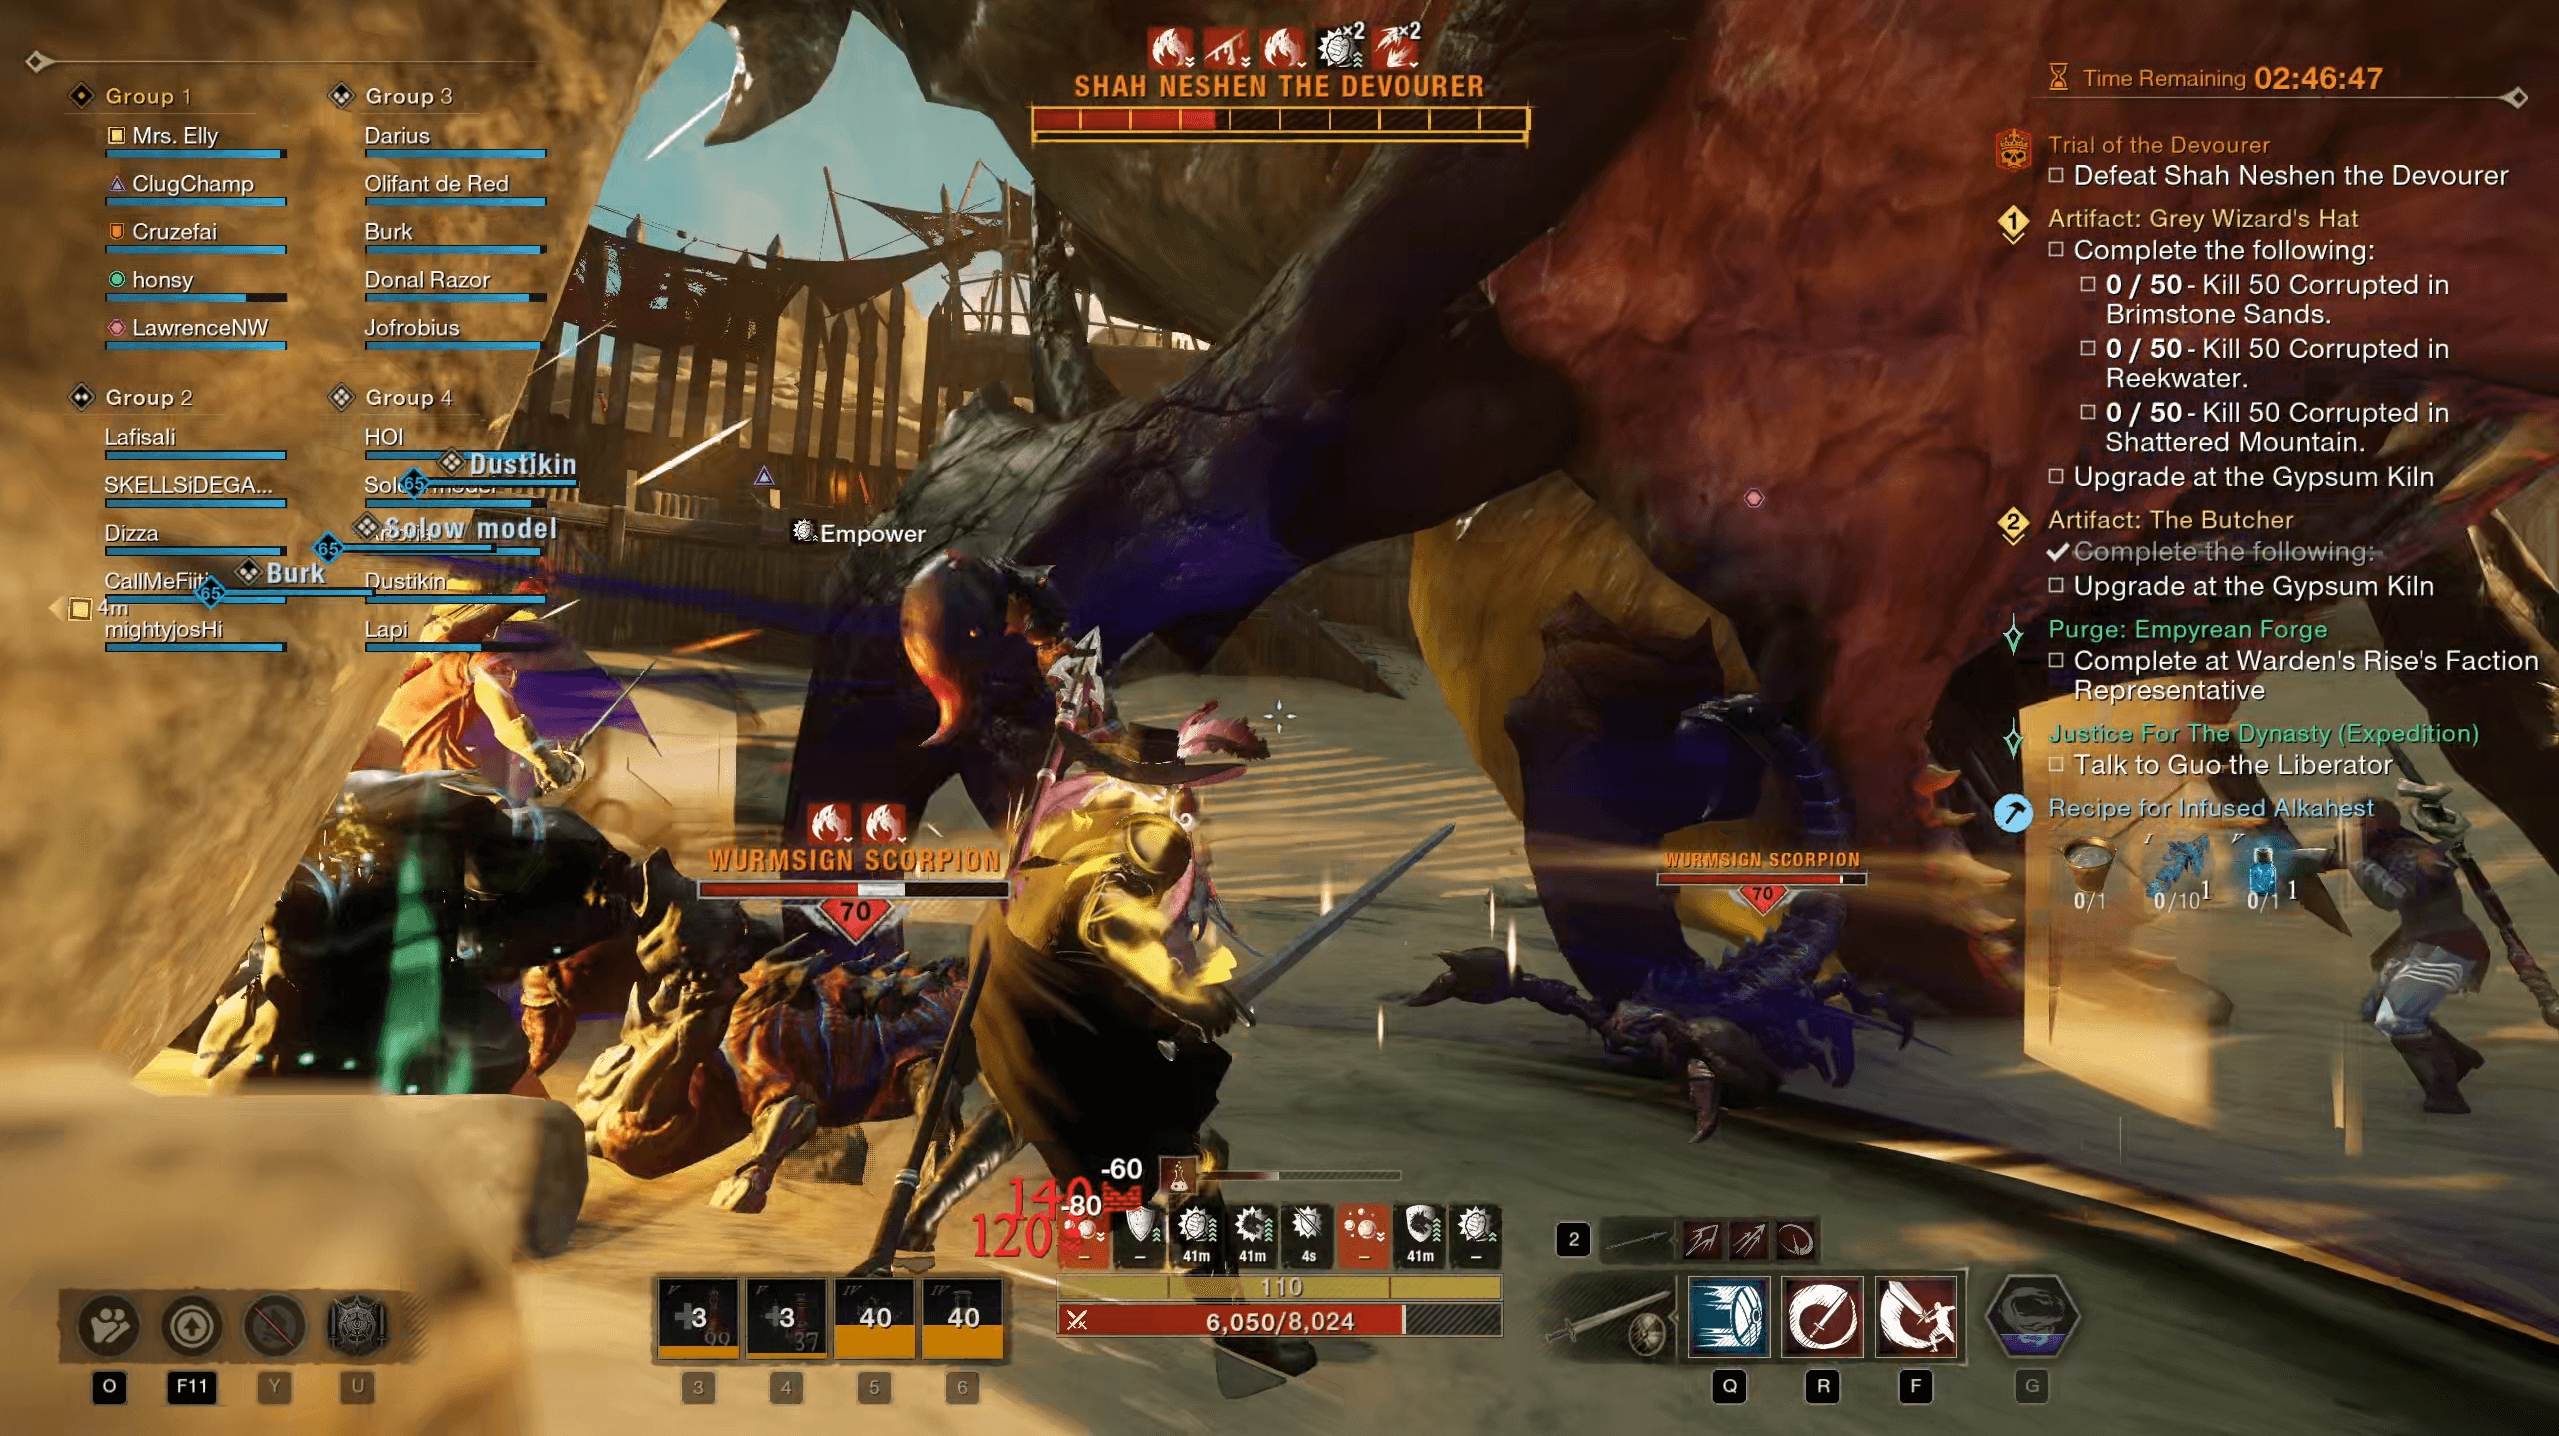
At 70% HP, the Worm will phase and burrow underground, leaving the arena temporarily. During this phase:
Two large Scorpions will spawn in the caves on the right and left sides of the arena.
Preparation: Ensure you’ve activated the lights and eliminated all Nephilims before this phase to benefit from the Rend and Empower buffs.
Objective: Defeat the Scorpions
Separate the Scorpions:
Keep the two Scorpions apart at all costs. If they get too close, they will grow in size and empower each other, becoming significantly more dangerous.
This also applies to any mobs left alive in the arena—don’t let them grow! (You don’t want to face a 20-foot Nephilim!)
Player Positioning:
Avoid grouping the raid in one spot to prevent accidental Scorpion empowerment.
Strategy Options:
Split Strategy: Divide the group evenly (e.g., 10 players per Scorpion) and handle them separately.
Focus Strategy: Leave an offtank to hold one Scorpion on one side while the rest of the raid focuses on killing the other.
Acid Jump Mechanic
While fighting the Scorpions, the Worm will periodically:
Target random players on the arena floor and leap toward them from underground.
Leave acid pools at the landing spot
Avoidance:
As soon as you see a green circle, dodge out of its radius to avoid damage.

Shield Phase
After the Worm’s final jump:
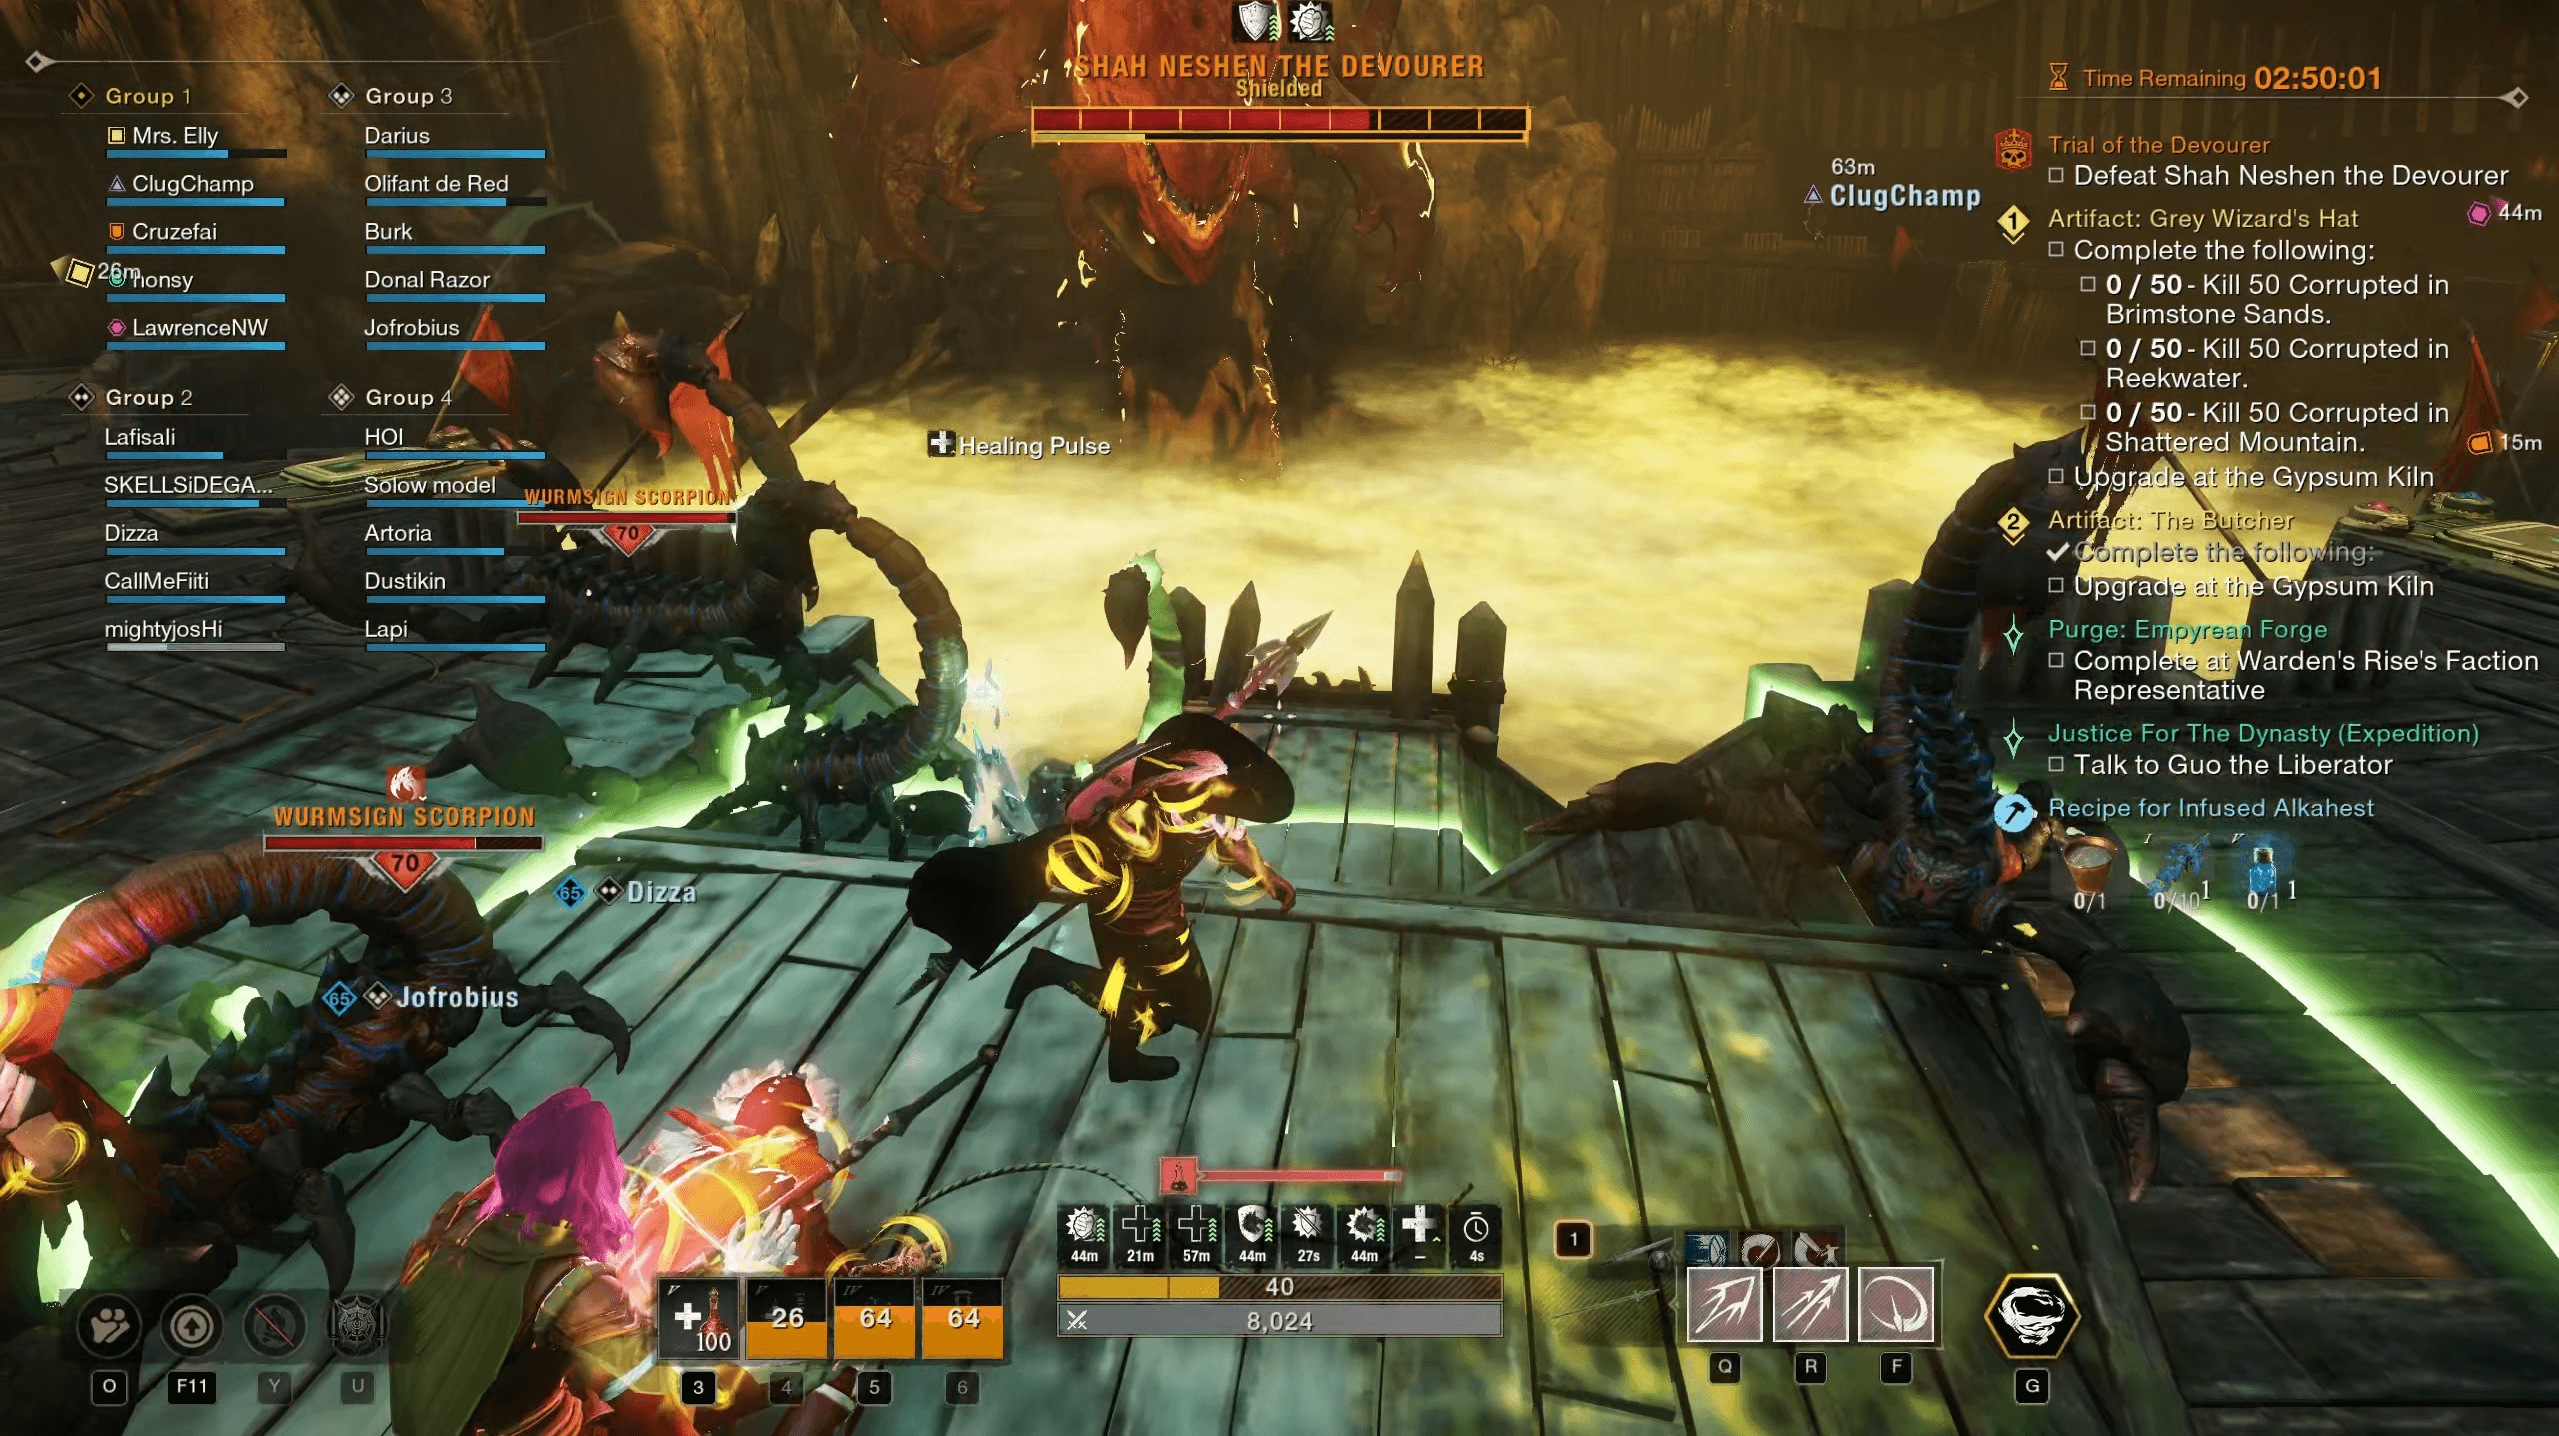
The lower arena will be covered in acid poison.
The Worm will re-emerge in its usual position.
Positioning
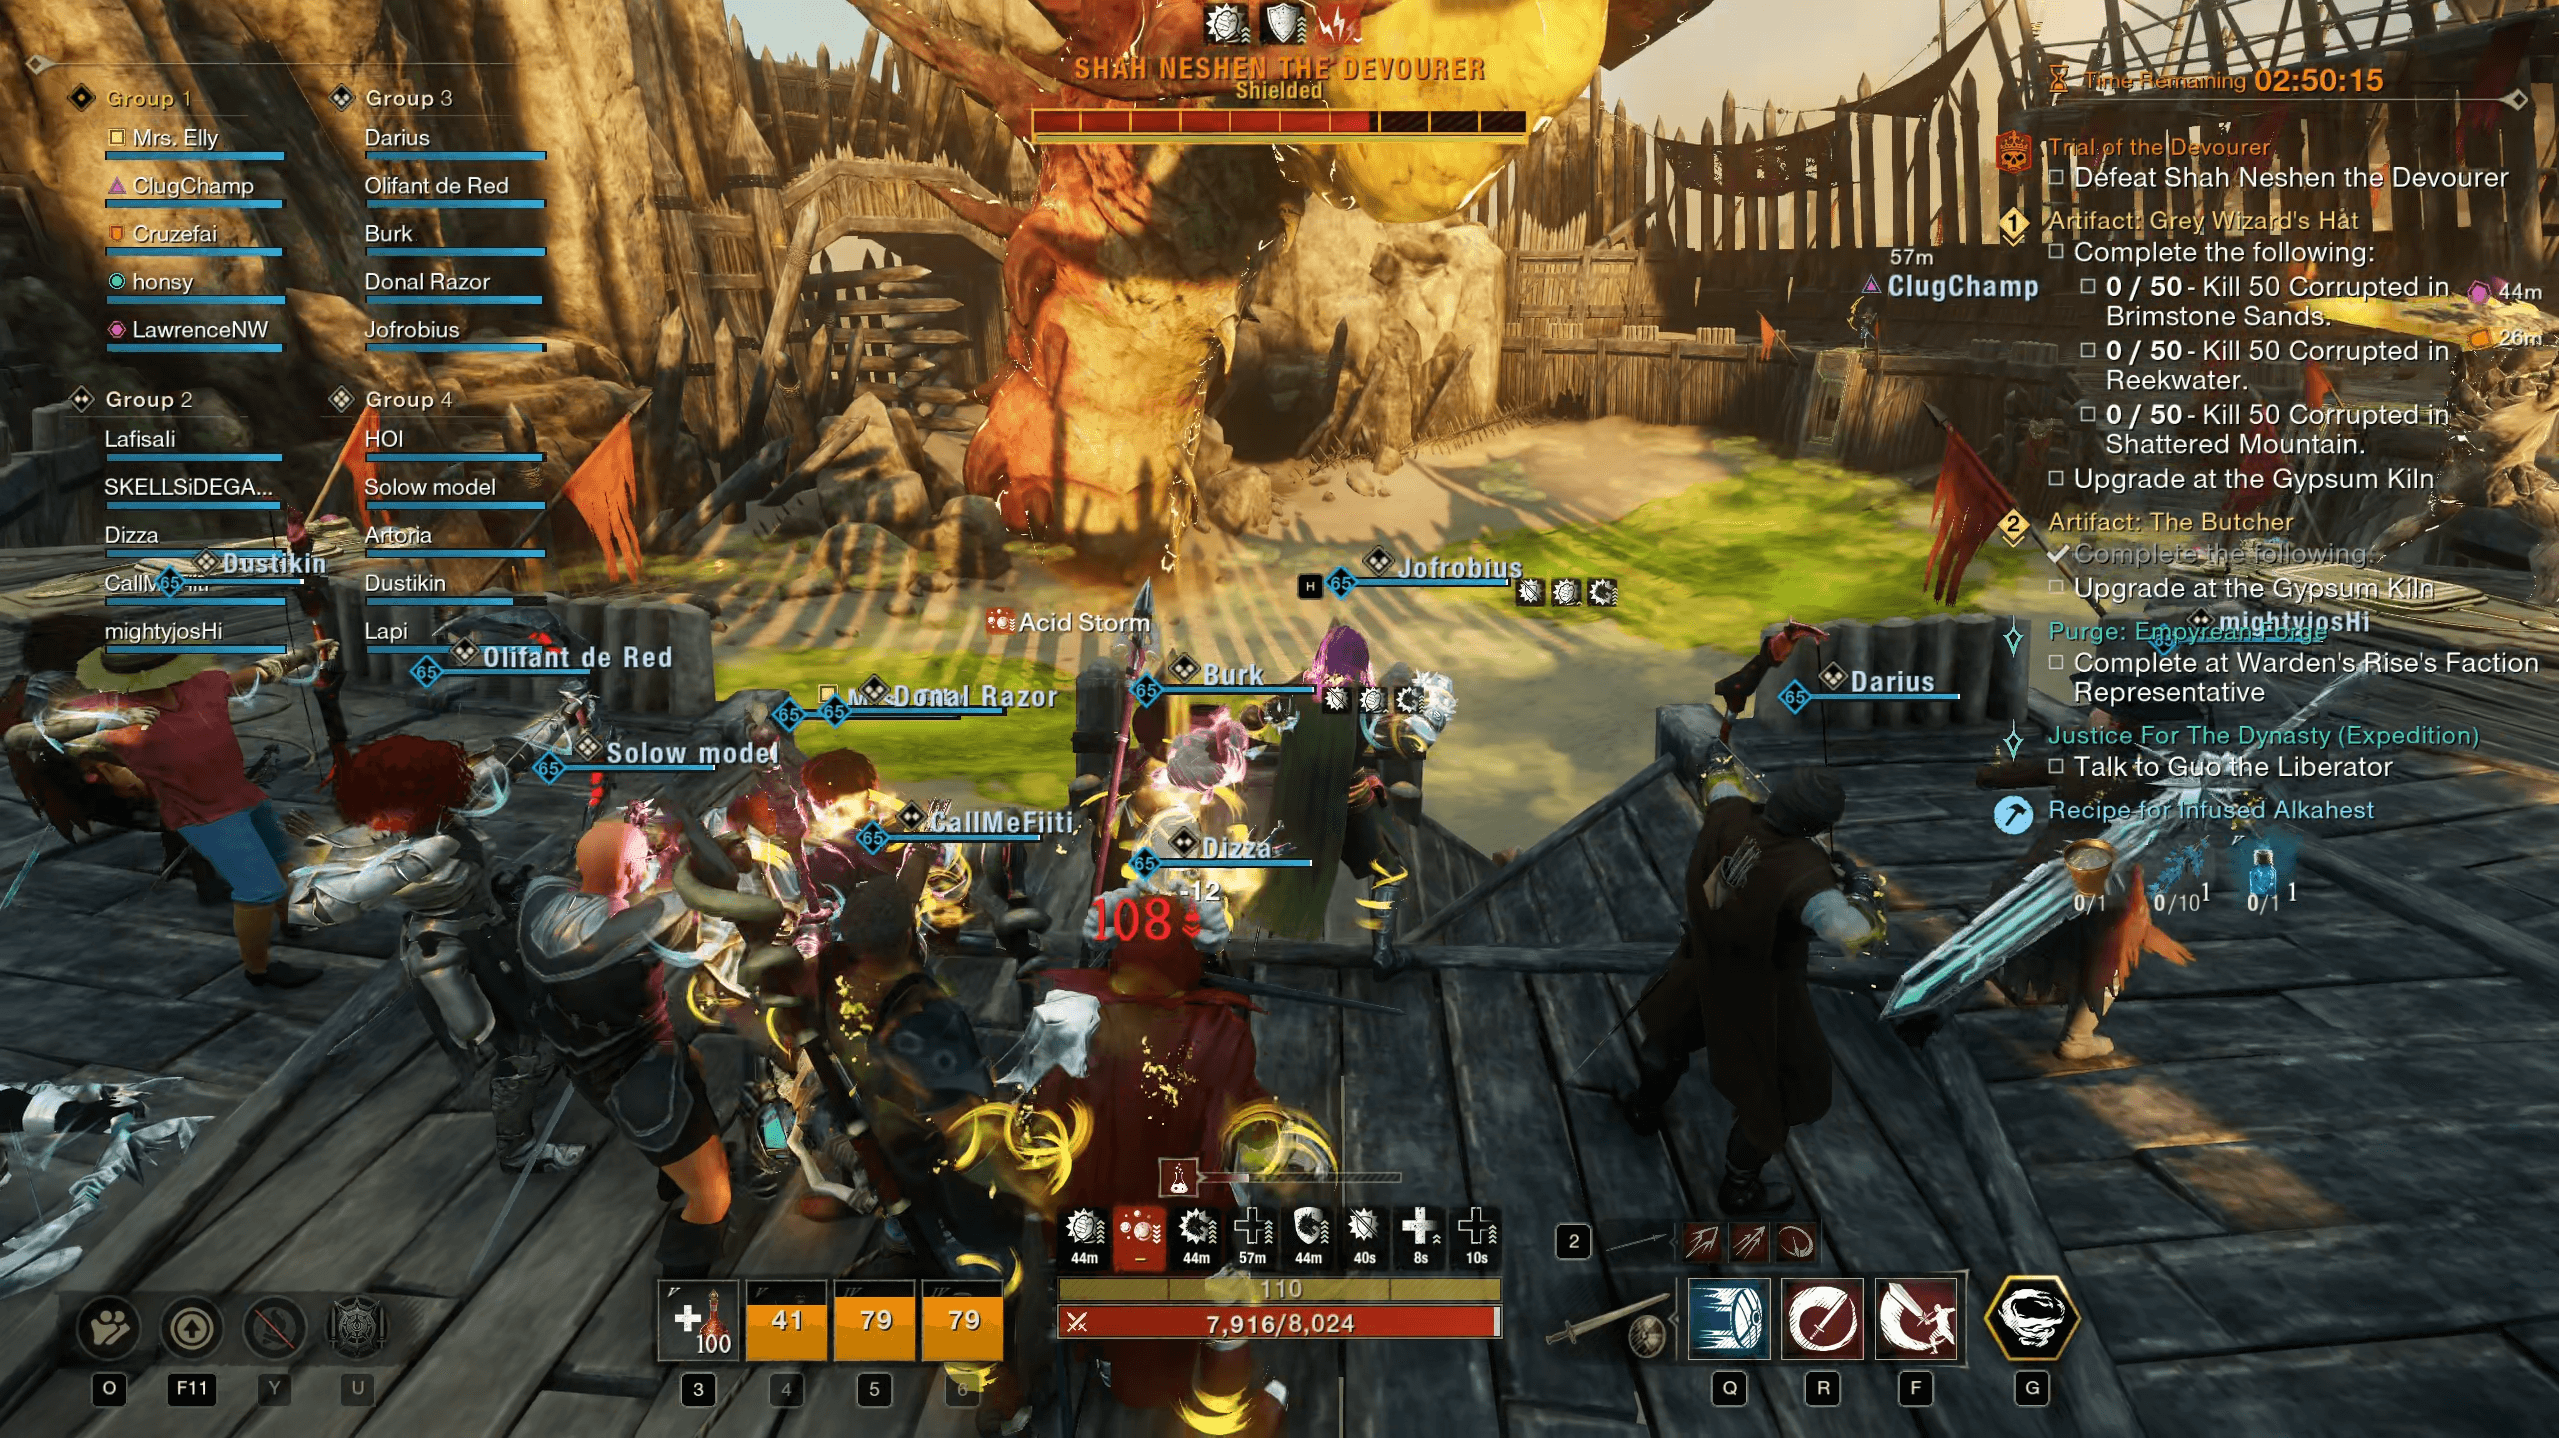
Everyone runs to the top of the stairs.
Wait until the tank has secured aggro before engaging with range attacks.
Your goal is to break the Worm’s stamina (shield) using heavy attacks, which can be done using one of two strategies:
1. Ranged Strategy (Safer, Standard Approach)
Focus on heavy ranged attacks (bows, muskets, or staves) from the top of the stairs.
Ensure the lights are activated quickly, before the Worm begins spitting poison.
Beware of Deadly Spits:
The Worm’s poison spits during this phase are extremely lethal.
Stay vigilant and cleanse any acid burn debuffs using Stalwart Firestorms.
2. Melee Strategy (High-Risk, High-Reward Approach)
All players run into melee range of the Worm.
Use Stalwart Firestorms to cleanse acid burns as they occur.
This requires precise coordination, with players activating Firestorms one after another as called by the shotcaller.
Break the Worm’s stamina much faster than with ranged attacks, but be aware of the increased acid damage.
Why Try This Strategy?
It’s a challenging but rewarding approach, offering faster stamina break if executed perfectly.
Successfully coordinating this strategy for the first time can be an exhilarating experience!
Important Notes
Acid damage in this phase is extremely high, so be quick and efficient.
Precise timing and teamwork are crucial for success, especially with the melee strategy.
At the end of this phase, the Worm will perform a Body Sweep attack.
Key Tip:
Do not rush back into the fight immediately!
Stay alert and listen to the shotcaller’s instructions

Here we go again
Next Phase: Repetition of Mechanics
The next phase involves a repetition of familiar mechanics:
The Worm will continue using its random attacks (Acid Spew, Body Sweep, Bite, and Poison Spits).
It will summon mobs (Scorpions, Nephilims, and Mages) to distract the raid.
40% HP Phase
At 40% HP, the Worm will phase again:
Two Scorpions will spawn, just like in the 70% phase.
After it the lower arena will once more be covered in an acid cloud, forcing the team to move to the top of the stairs.
Reminder:
Follow the same strategies for handling the scorpions and breaking the Worm’s stamina as outlined in the earlier phases.
Stay coordinated and listen to the shotcaller for adjustments!

Surprise Bomb
After the second stamina phase, the Worm will introduce a new mechanic:
Explosive Mines
The Worm will burrow briefly, then jump back onto the arena, scattering explosive mines across the battlefield.
If these mines are not cleared quickly, they will detonate and cause a raid wipe.
How to Handle the Mines:
Prioritize mining the explosives immediately to prevent disaster.
Coordinate with your team to ensure no mines are left behind.

Final Stretch
Once the mines are cleared, focus all efforts on the Worm:
If your DPS is high, you may defeat the Worm before another phase begins.
Otherwise, the Worm may repeat previous mechanics, but you now know all its tricks.
Final Reminder: Stay focused, listen to the shotcaller, and give it your all to secure the victory! Don't forget screenshots in the end :) Good luck!

